How to Organize Kitchen Cabinets Like a Pro for Maximum Efficiency
In this guide, you will learn how to organize your kitchen cabinets like a professional. You’ll accomplish a clean, functional kitchen that not only looks great but also enhances your cooking experience. We will cover essential steps, from decluttering and categorizing items to utilizing storage solutions that maximize space.
This How to Organize Kitchen Cabinets guide is designed for beginners and will take approximately 2-3 hours to complete, depending on the size of your kitchen. Get ready to discover the secrets of efficient kitchen organization!
TL;DR Summary
- Clear out and declutter your kitchen cabinets.
- Sort items into categories for easy access.
- Utilize storage solutions like bins and shelves for maximum efficiency.
- Maintain your organized cabinets with regular checks.
Prerequisites/Materials Needed
- Cleaning Supplies: All-purpose cleaner, microfiber cloths
- Storage Solutions: Bins, baskets, or drawer organizers (1-3 depending on your needs)
- Labels: Label maker or sticky labels
- Measuring Tape: For measuring cabinet dimensions
- Trash Bags: For decluttering
Skill Level & Time Estimate
Skill Level: beginner
Total time estimate: 2-3 hours
Breakdown of time by major steps:
- Decluttering: 30-60 minutes
- Sorting and categorizing: 30-60 minutes
- Implementing storage solutions: 1-2 hours
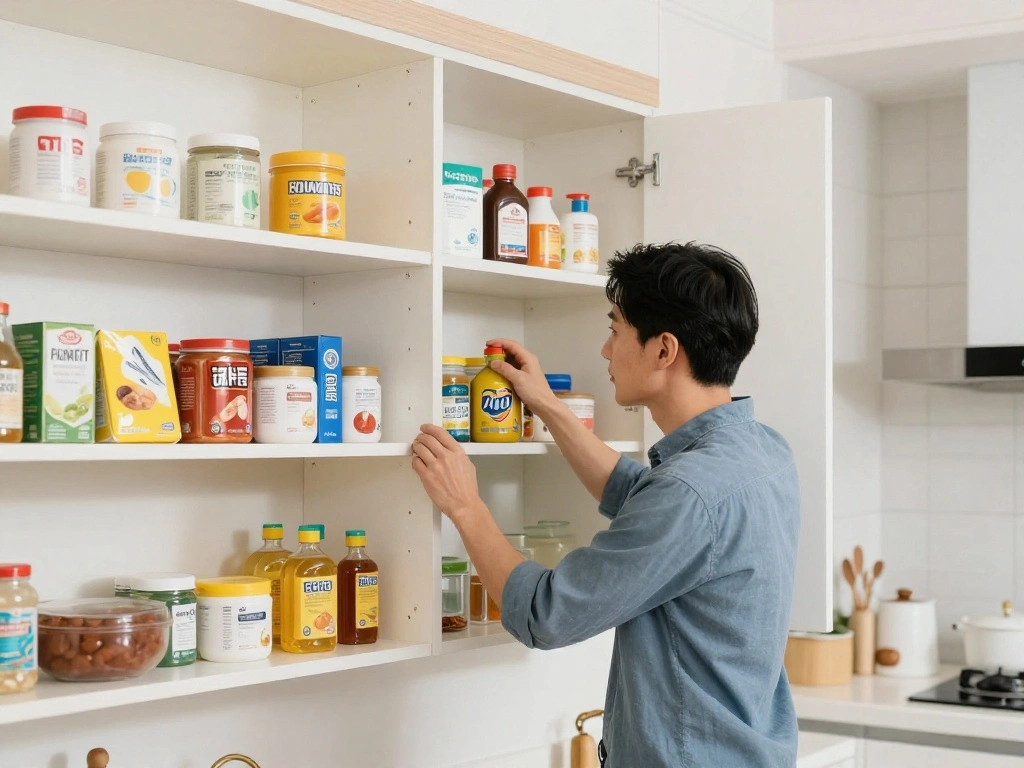
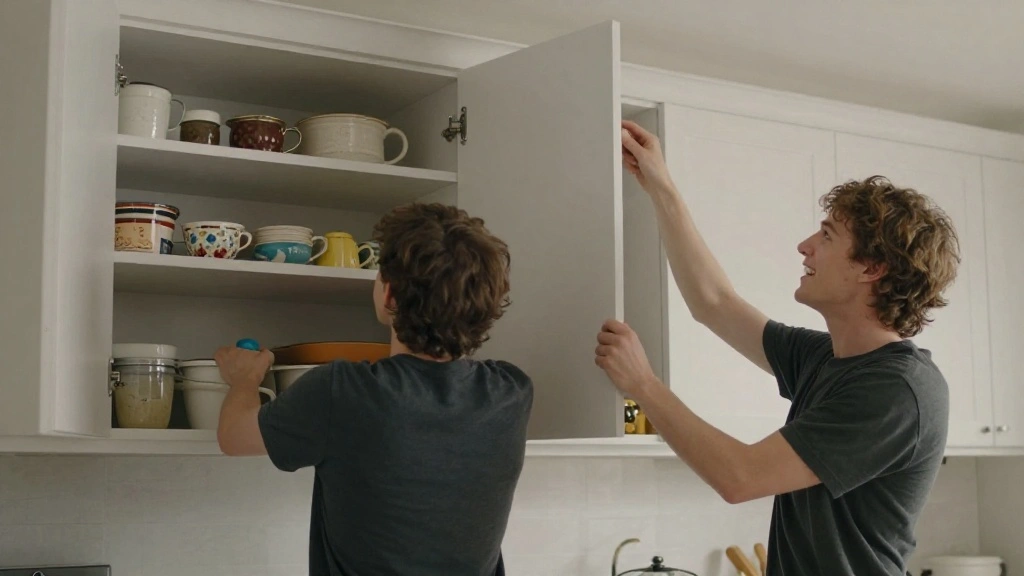
Step 1: Clear Out Your Cabinets
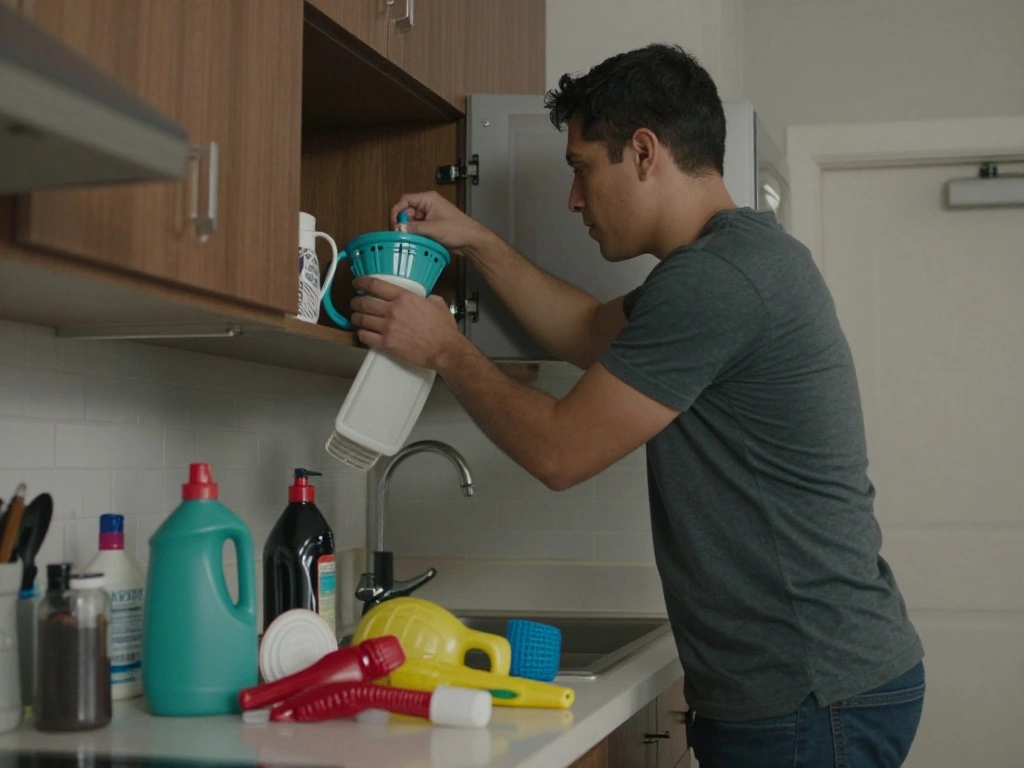
Start by emptying all items from your kitchen cabinets. This step is crucial for seeing what you have and assessing what you need to keep. Follow these sub-steps:
- Remove every item from the cabinets.
- Clean the shelves with a microfiber cloth and all-purpose cleaner.
- Inspect each item for damage or expiration dates.
Pro Tip: Place similar items together on your kitchen counter to make sorting easier.
Why this matters: Clearing out your cabinets helps you identify duplicates and expired items, making it easier to declutter.
Time estimate for completing this step: 30-60 minutes.
Step 2: Sort and Categorize Items
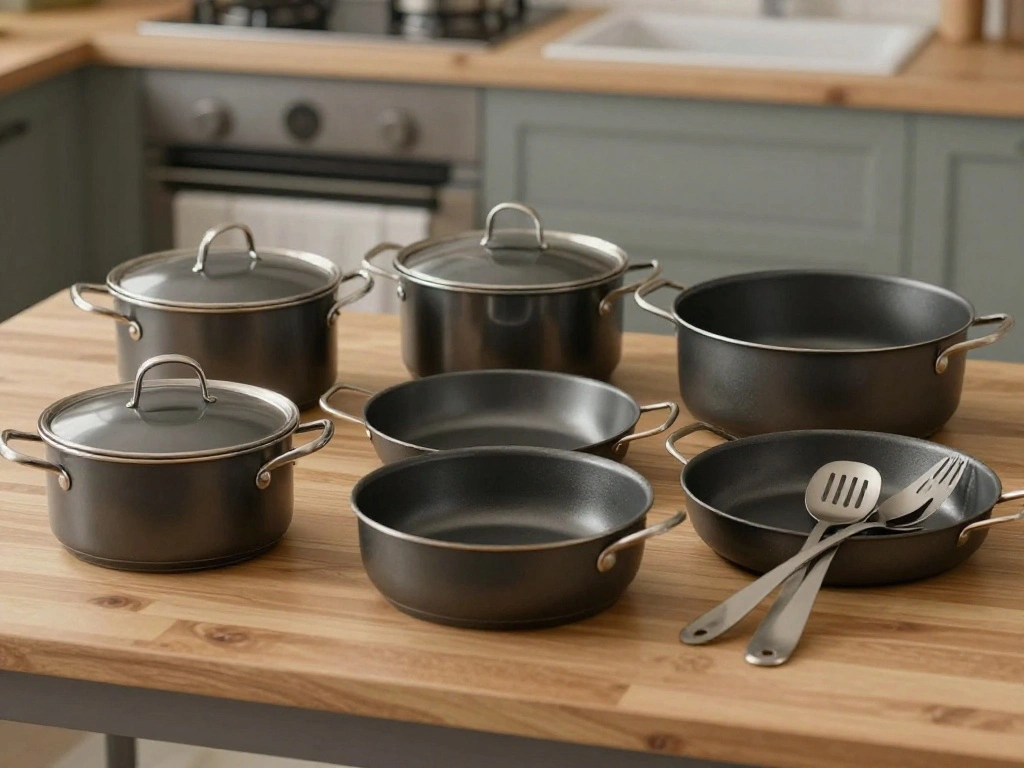
Once your cabinets are empty, it’s time to sort items into categories. This will make it easier to find what you need when cooking. Follow these steps:
- Group items into categories such as pots and pans, dishes, utensils, and food items.
- Decide what to keep, donate, or throw away.
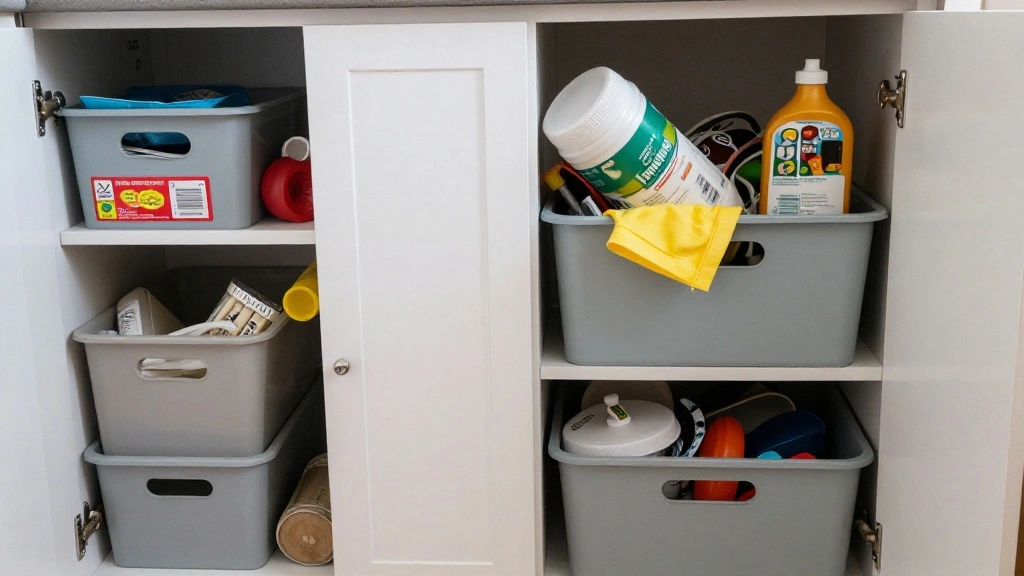
- Use bins or baskets to organize items within each category.
Warning: Don’t keep items you haven’t used in the last year; they will only take up valuable space.
Why this matters: Categorizing helps you maintain order and find items quickly while cooking.
Time estimate for completing this step: 30-60 minutes.
Step 3: Evaluate Your Storage Options
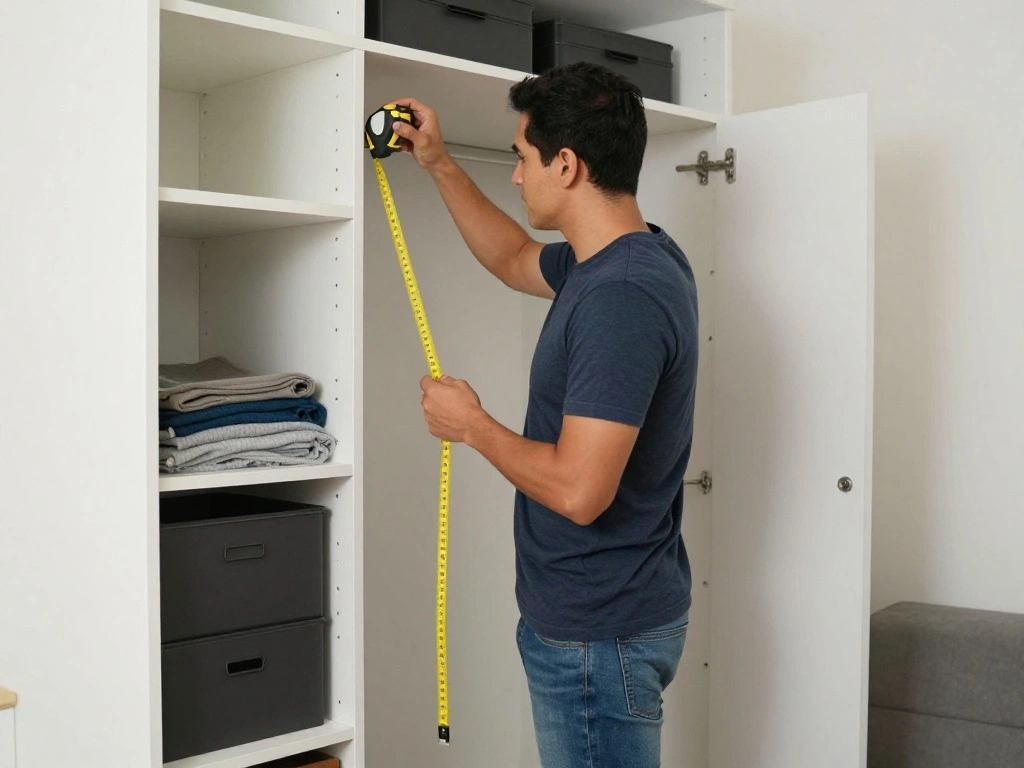
Next, assess your storage options to maximize efficiency. This step involves determining the best way to store your categorized items. Follow these steps:
- Measure your cabinets to understand your space constraints.
- Consider using vertical space with stacking shelves or racks.
- Choose bins or drawer organizers that fit your cabinet dimensions.
Pro Tip: Use clear bins to easily see contents without opening them.
Why this matters: Proper storage solutions prevent clutter and make it easier to access items when needed.
Time estimate for completing this step: 30 minutes.
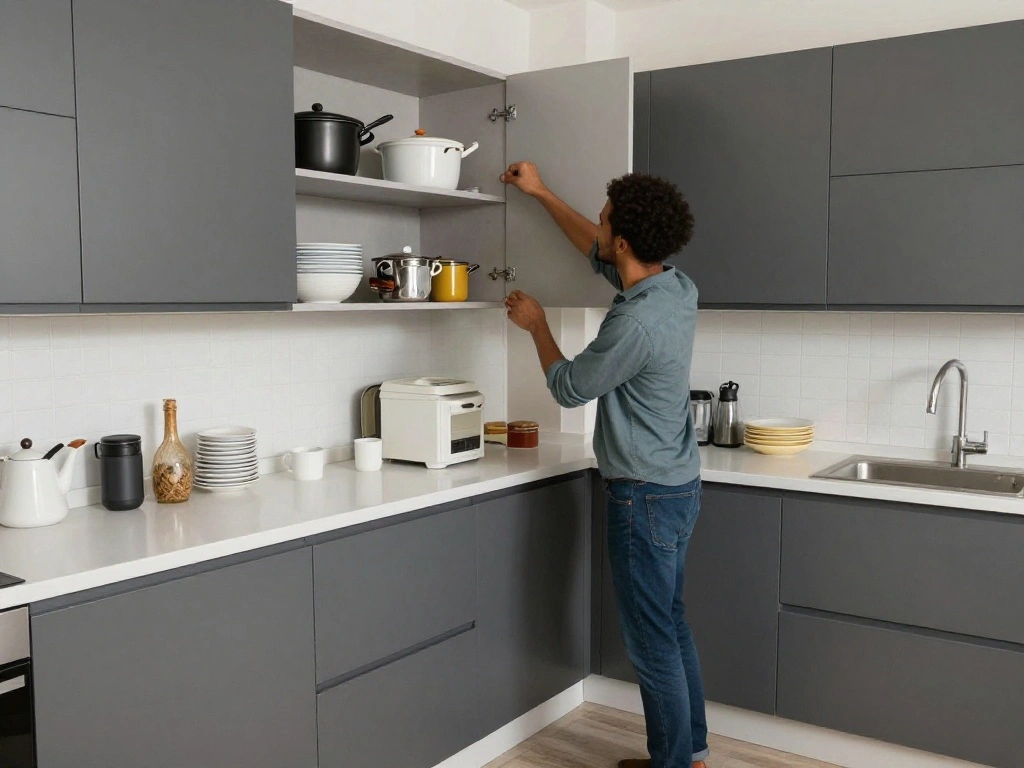
Step 4: Implement Storage Solutions
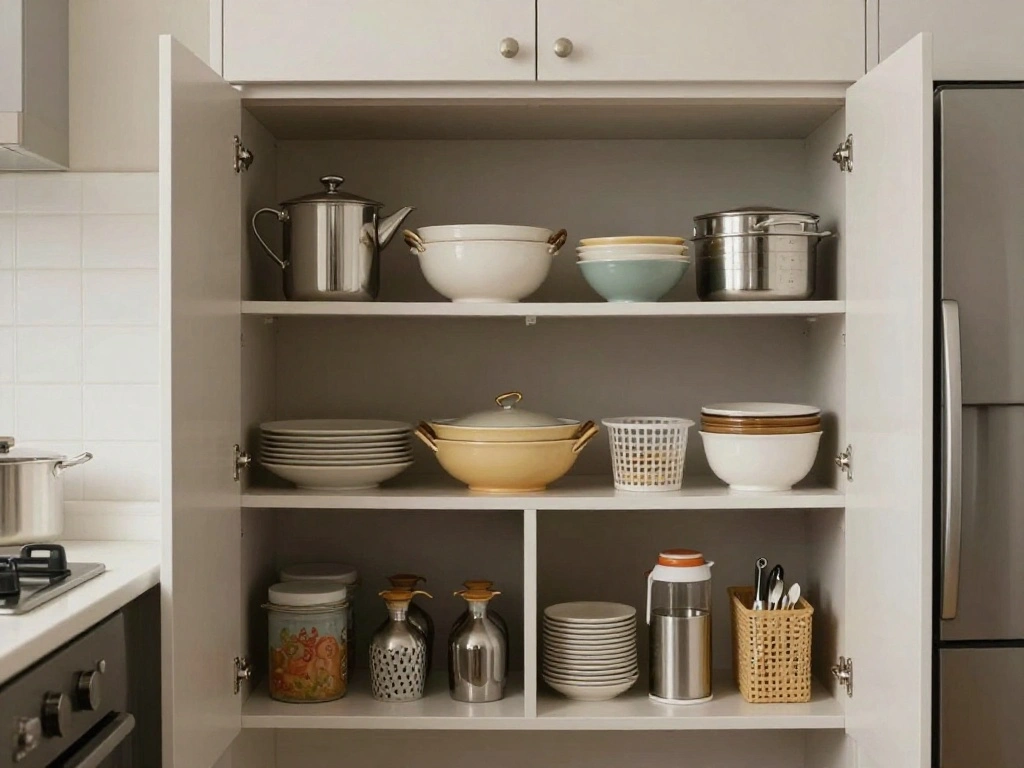
Now it’s time to implement your storage solutions. This step will involve placing items back into the cabinets in an organized manner. Follow these steps:
- Place heavier items on lower shelves for easy access.
- Stack similar items together, like pots and pans.
- Store frequently used items at eye level for convenience.
Warning: Avoid overstuffing cabinets, as this can lead to damage and difficulty accessing items.
Why this matters: Proper placement ensures safety and accessibility when cooking.
Time estimate for completing this step: 1-2 hours.
Step 5: Label Everything
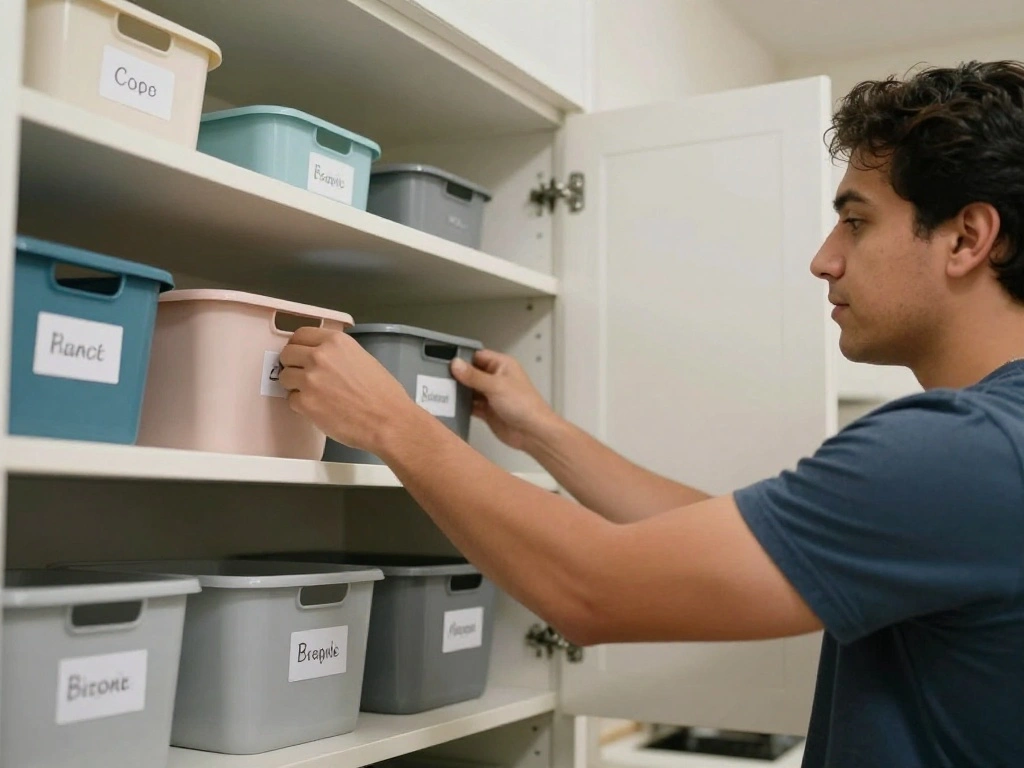
Labeling your bins and shelves will enhance the organization of your kitchen cabinets. This step is crucial for maintaining order. Follow these steps:
- Choose a labeling method: handwritten labels, a label maker, or sticky notes.
- Label each bin and shelf according to its contents (e.g., ‘Pots’, ‘Spices’, ‘Baking’).
- Ensure labels are clear and visible.
Pro Tip: Use color-coded labels for different categories for quick identification.
Why this matters: Labels help everyone in the household find and return items easily.
Time estimate for completing this step: 30 minutes.
Step 6: Maintain Your Organization
Once you have organized your kitchen cabinets, it’s essential to maintain that order. This step involves creating a routine. Follow these steps:
- Set a reminder to review and reorganize your cabinets every 3-6 months.
- Encourage family members to return items to their designated places.
- Assess and remove expired food or broken items regularly.
Warning: Failing to maintain organization can lead to a return to clutter.
Why this matters: Regular maintenance ensures your kitchen remains functional and efficient.
Time estimate for completing this step: Ongoing.
Step 7: Optimize for Your Cooking Style

Customize your kitchen organization based on your cooking habits. This step ensures your kitchen works for you. Follow these steps:
- Identify the most used items in your cooking routine.
- Reorganize cabinets to place these items within easy reach.
- Consider using drawer organizers for utensils based on frequency of use.
Pro Tip: If you bake often, keep baking supplies together in one area for efficiency.
Why this matters: Tailoring your space to your cooking habits enhances efficiency and enjoyment.
Time estimate for completing this step: 30-45 minutes.
Step 8: Evaluate and Adjust
After implementing your organization system, take time to evaluate its effectiveness. This step allows for adjustments based on real-life use. Follow these steps:
- Observe how well the current system works for you over a few weeks.
- Note any areas that feel cluttered or inconvenient.
- Make adjustments as needed, such as moving frequently used items closer.
Warning: Don’t hesitate to change the organization if it doesn’t feel right after a trial period.
Why this matters: Adapting your system ensures long-term success and satisfaction.
Time estimate for completing this step: 15-30 minutes.
Step 9: Celebrate Your Accomplishment
Finally, take a moment to celebrate your organized kitchen cabinets! This step is about appreciating your hard work. Follow these steps:
- Take a photo of your organized cabinets to remember the transformation.
- Show off your organized kitchen to family and friends.
- Enjoy the efficiency and ease that comes with a well-organized kitchen.
Pro Tip: Consider hosting a small gathering to showcase your improved cooking space!
Why this matters: Celebrating your effort motivates you to maintain your organized space.
Time estimate for completing this step: 10-15 minutes.
Pro Tips
- Use Vertical Space: Install shelves or racks to utilize the vertical space in your cabinets.
- Drawer Dividers: Invest in drawer dividers for utensils to keep them organized and easy to find.
- Magnetic Strips: Use magnetic strips for knives or spices to save space and enhance accessibility.
- Clear Containers: Store dry goods in clear containers to easily see contents and keep items fresh.
- Monthly Check: Set a monthly reminder to check for expired food or items that need to be reorganized.
Common Mistakes to Avoid
Warning: Don’t keep items you rarely use. This can lead to clutter and frustration. Instead, donate or discard them.
Warning: Avoid overloading shelves. This can make accessing items difficult and may cause damage to your cabinets.
Warning: Don’t forget to label bins. Unlabeled items can lead to confusion and an unorganized space.
Troubleshooting Section
Problem: Items keep falling out when opening cabinets.
Solution: Reassess the organization; consider using bins or drawer organizers to keep items secure.
Problem: Too much clutter after a few weeks.
Solution: Set a regular schedule for decluttering and maintaining organization.
Problem: Cannot find frequently used items.
Solution: Reorganize to keep those items at eye level or in a designated bin.
Variations/Alternative Methods
Consider these alternative methods for organizing your kitchen cabinets:
- Zone Method: Divide your kitchen into zones (e.g., prep, cooking, baking) and organize items accordingly.
- Minimalist Approach: Keep only essential items and reduce the number of tools and gadgets.
- Seasonal Organization: Rotate items based on usage (e.g., holiday baking supplies) to keep the space relevant.
FAQs
What if I don’t have enough storage solutions?
Consider decluttering further or using multifunctional items that serve more than one purpose.
How long should I maintain my organized cabinets?
Check your cabinets every 3-6 months to ensure everything remains organized and functional.
Is it safe to stack heavy items in cabinets?
Yes, just ensure they are on lower shelves to prevent accidents.
Conclusion
Congratulations on organizing your kitchen cabinets! You have transformed your cooking space into an efficient, enjoyable area. Take pride in your accomplishment and enjoy the benefits of an organized kitchen. As you maintain this order, consider exploring other areas of your home that could use a similar organizational makeover.
Keep your kitchen organized by regularly reviewing your system and adjusting as needed. Remember, the key to a successful kitchen is not just the initial organization, but the commitment to maintain it!